Installing Fermentrack in a Proxmox Container

As I was writing my instructions on installing Fermentrack into a Proxmox VM, @Calandryll on HomeBrewTalk was finding the best way to install Fermentrack into a Proxmox Container. Ultimately, the method you choose is up to you – Containers carry significantly less overhead than VMs and are better integrated into Proxmox's management tools, but don't provide as much control of the environment.
Similar to a Proxmox VM-based install, you will need to start by selecting your hardware and installing Proxmox. Since these instructions are the same as for a VM install, I will recommend you go read those sections in the VM post, then return here once you get to "Setting up your VM".
2025-01-25 Update: Unfortunately, tteck - the author of the script we use in this post - passed away late last year. Prior to his passing he handed over maintenance of his scripts to the community, which resulted in changes to the repo links. I have updated the links - and screenshots - in this blog post accordingly.
Setting up your Container
Opening the Proxmox Host's Shell
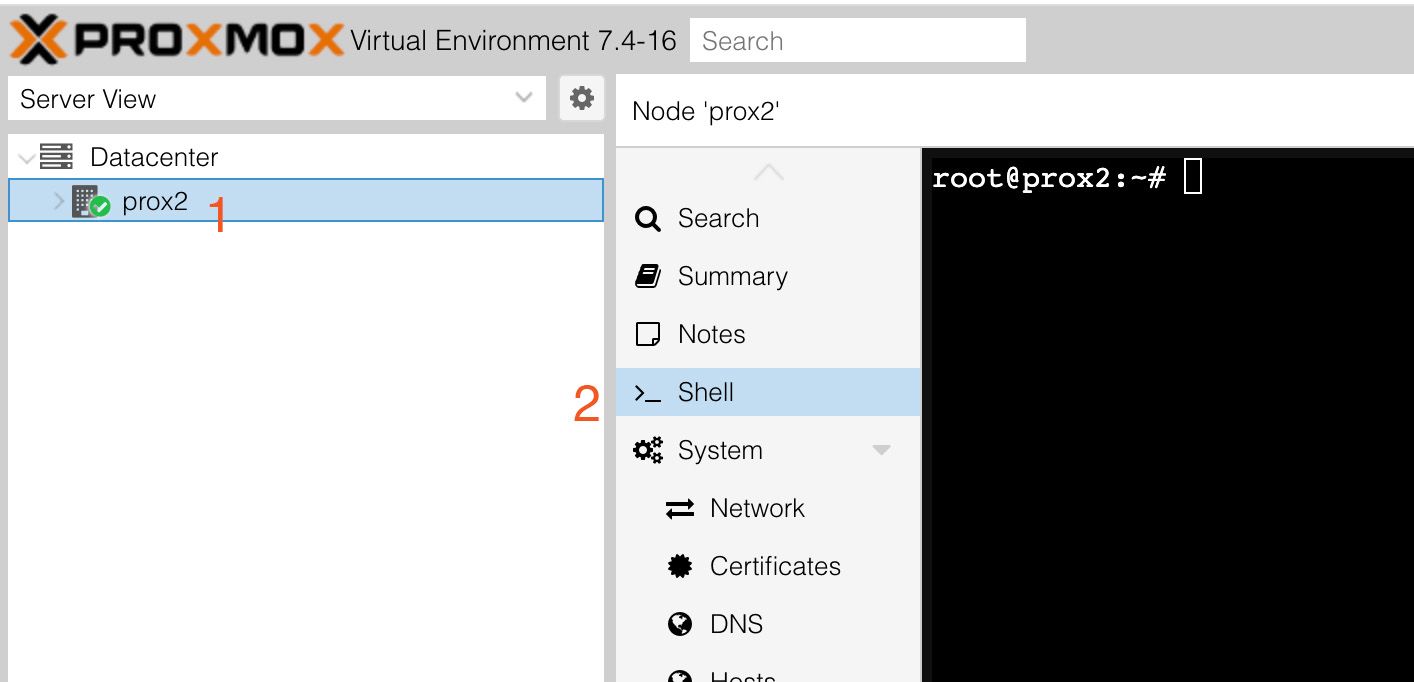
Log into Proxmox, select your server from the bar on the left, and then click "Shell" to open up the Proxmox host's shell.
Run the Helper Script
In the shell, paste the following command:
bash -c "$(wget -qLO - https://github.com/community-scripts/ProxmoxVE/raw/main/ct/docker.sh)"
Once done, hit enter, and the helper script should launch. Choose "Yes" to proceed.
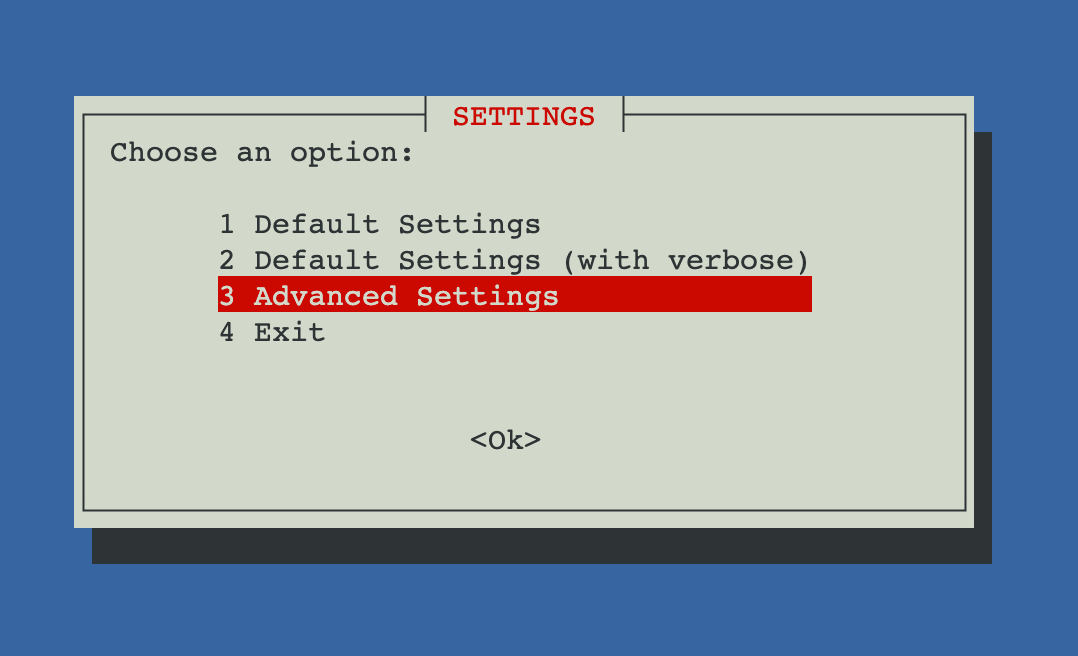
If you receive a message about Proxmox 7, choose OK. When asked about settings, choose "Advanced Settings" and hit enter.
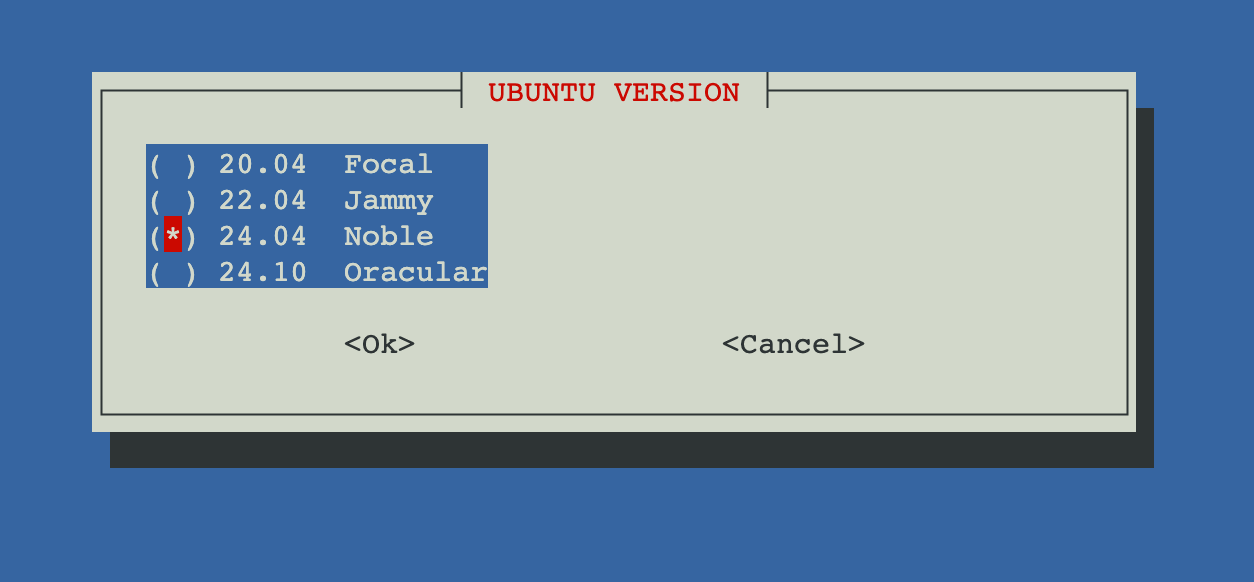
Continue through the script until you are asked to select a distribution, and choose "Ubuntu" by selecting it, then pressing the space bar once selected. Hit "Tab" to exit the selection pane, and choose "OK" to continue.

Select the latest LTS version of Ubuntu from the next window. As of the time of writing, the latest LTS version is 24.04 - more information can be found at Ubuntu's releases page. Once you have selected the correct version, choose "OK" to continue.
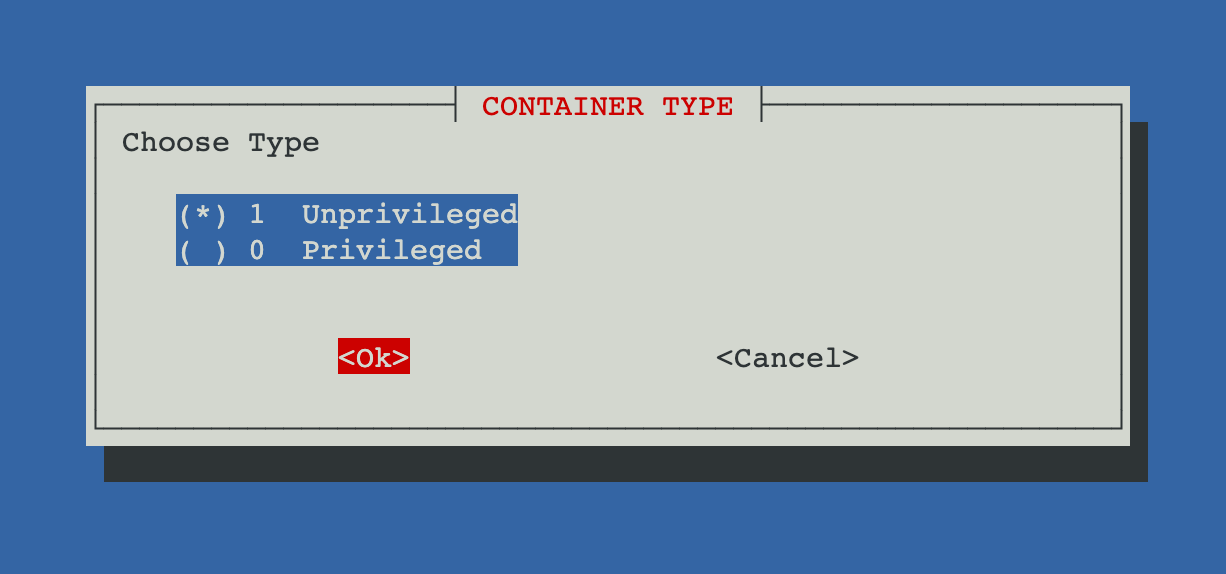
Choose to create an unpriviliged container:
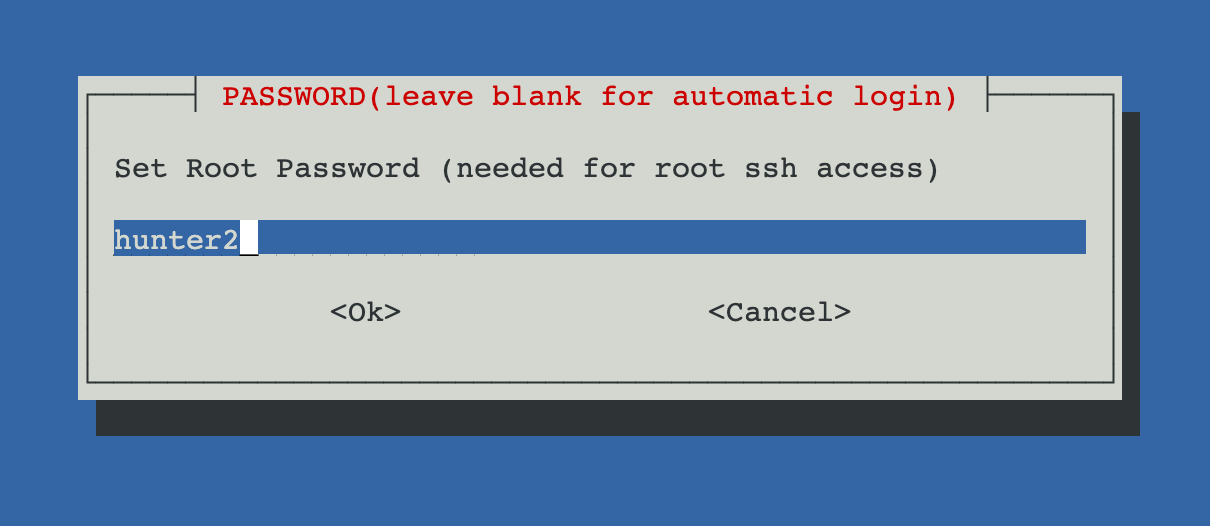
And be sure to set a root password:
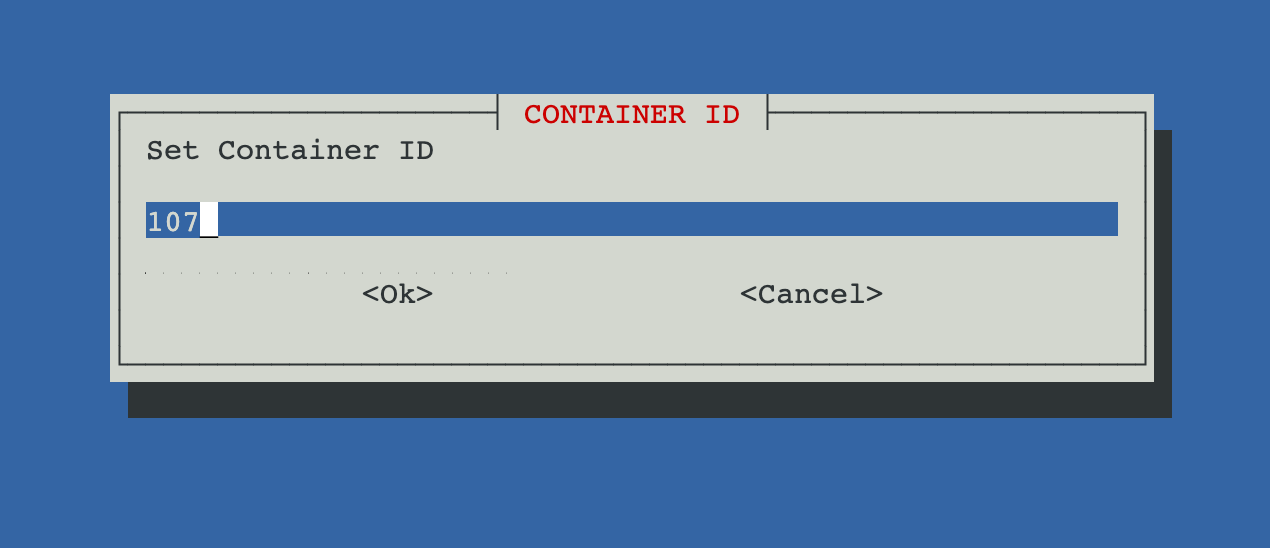
Do not change the container ID - the default is fine.
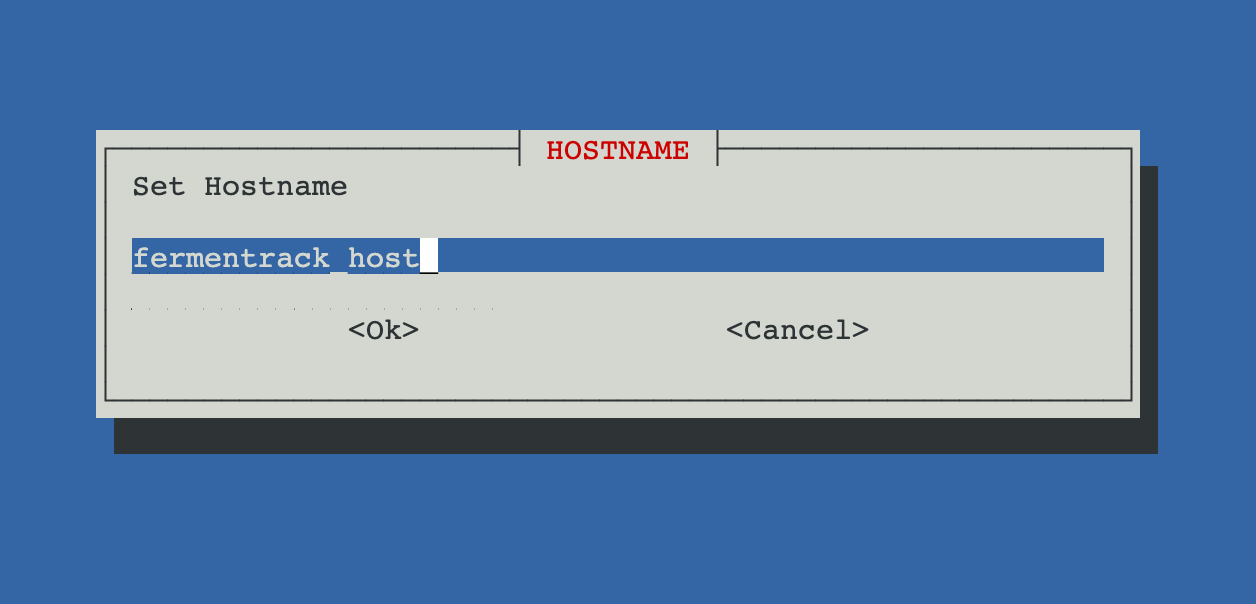
Set the hostname however you like
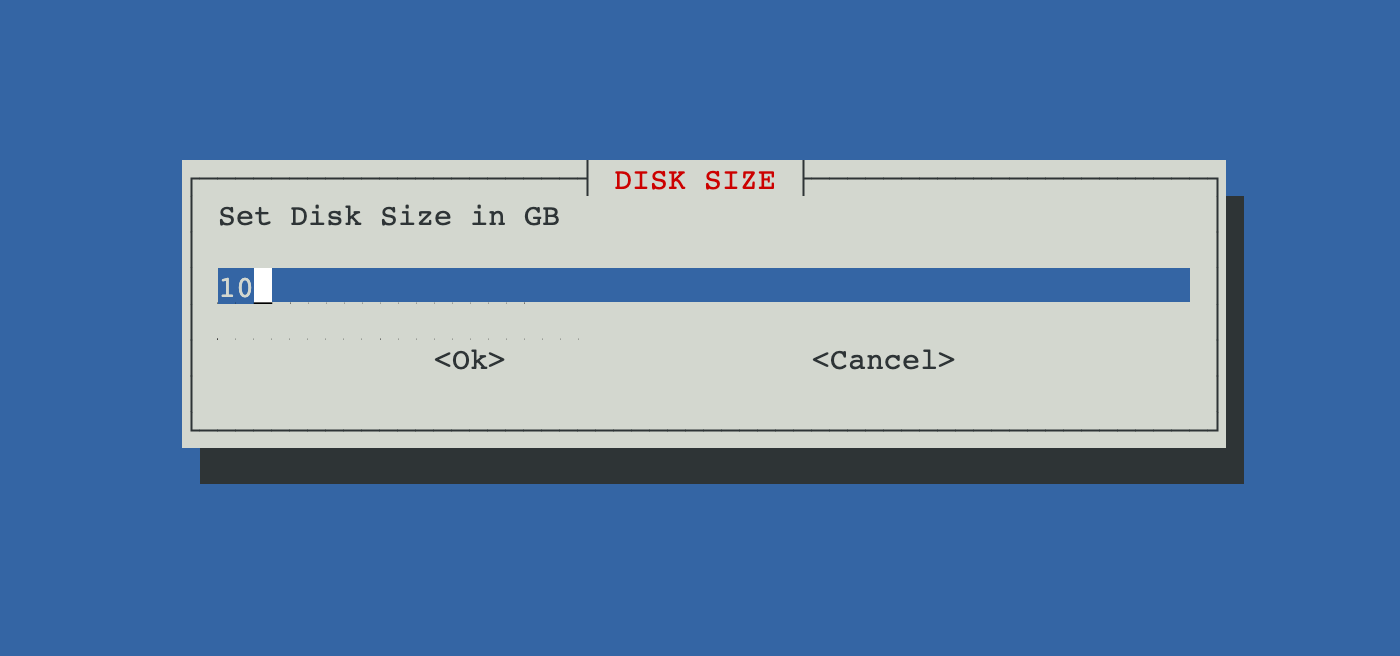
Set the volume size to at least 10 GB
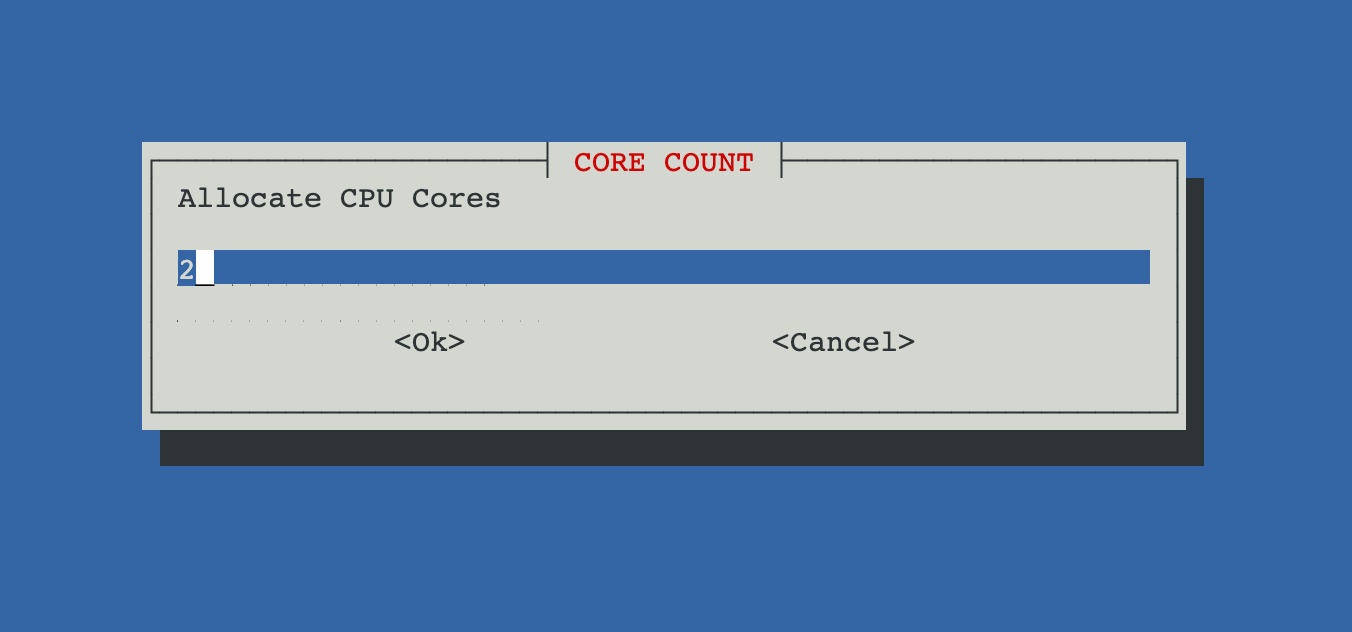
Select however many CPU cores you like - I recommend at least 2 if you have that many available
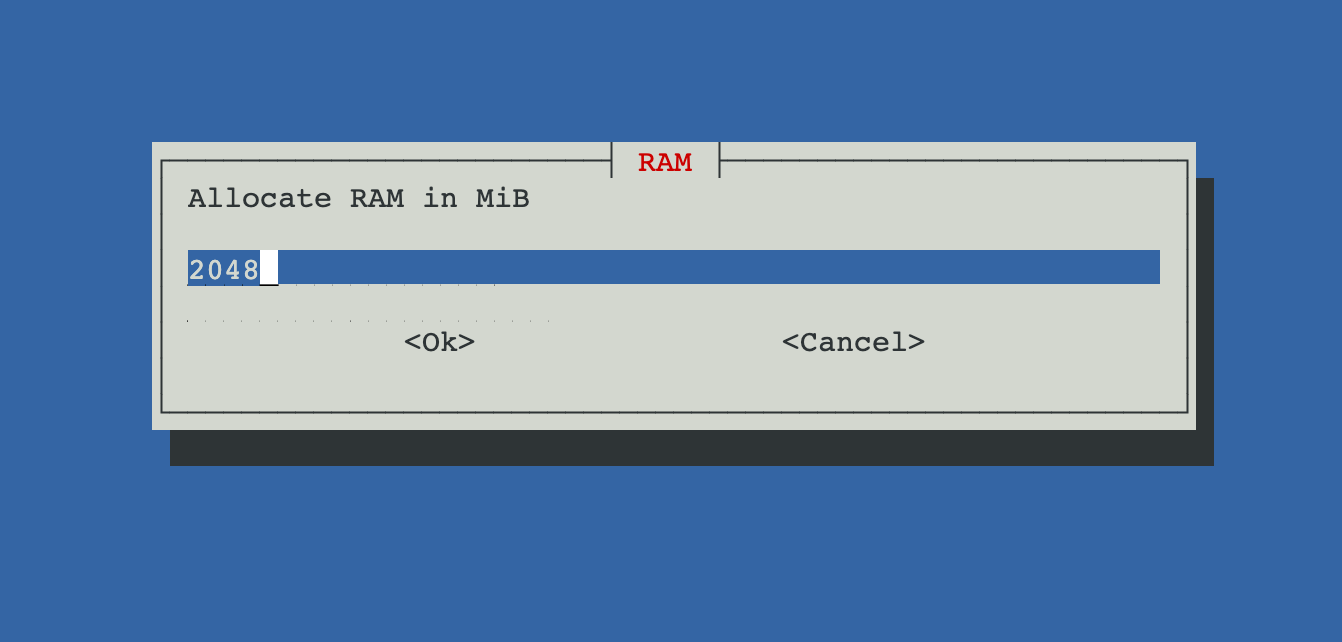
Allocate at least 2048MB of RAM
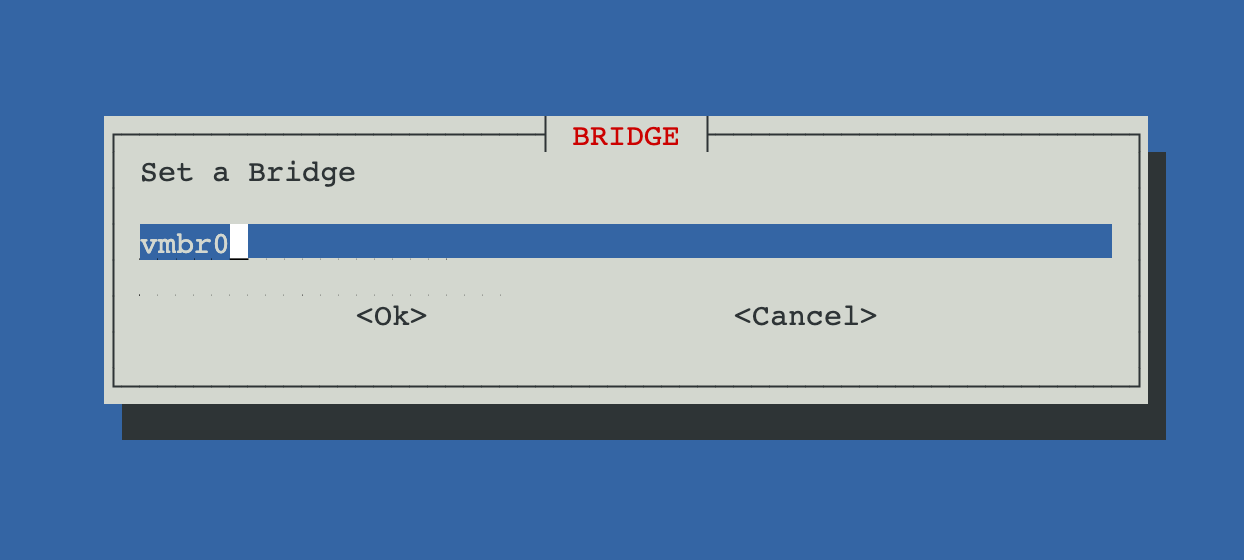
Select the appropriate network bridge. For most configurations the default is fine - if you have a custom Proxmox setup involving multiple networks, you may need to change this.
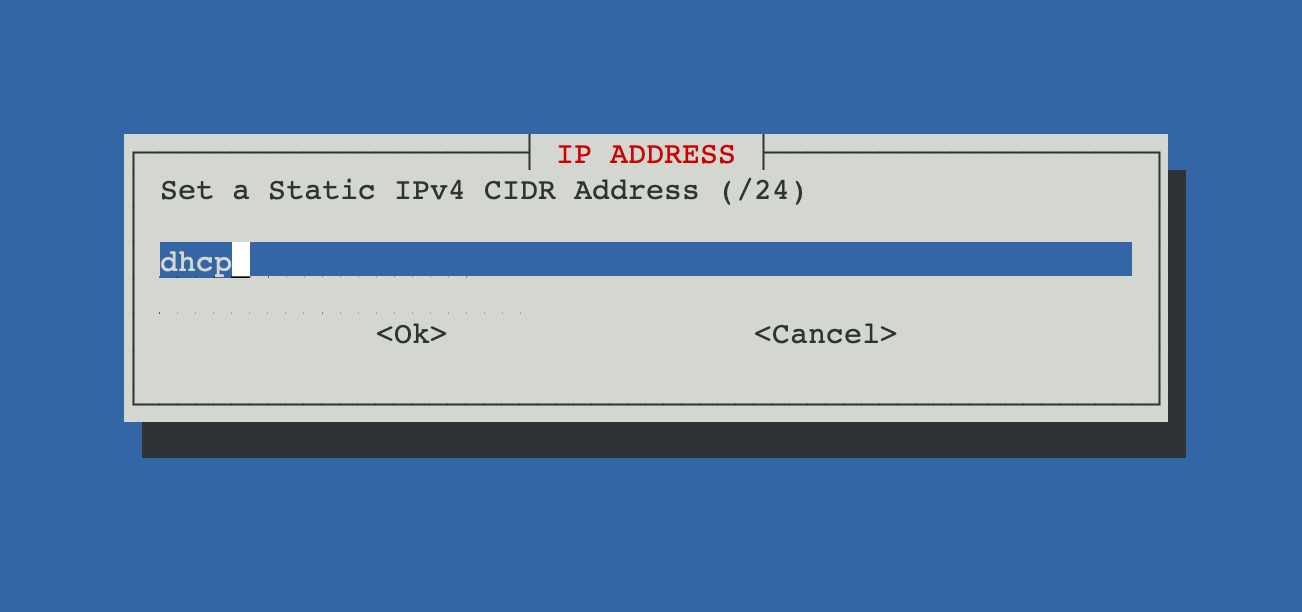
Set the IP address to either be dynamic (dhcp) or static, depending on your preferred network configuration
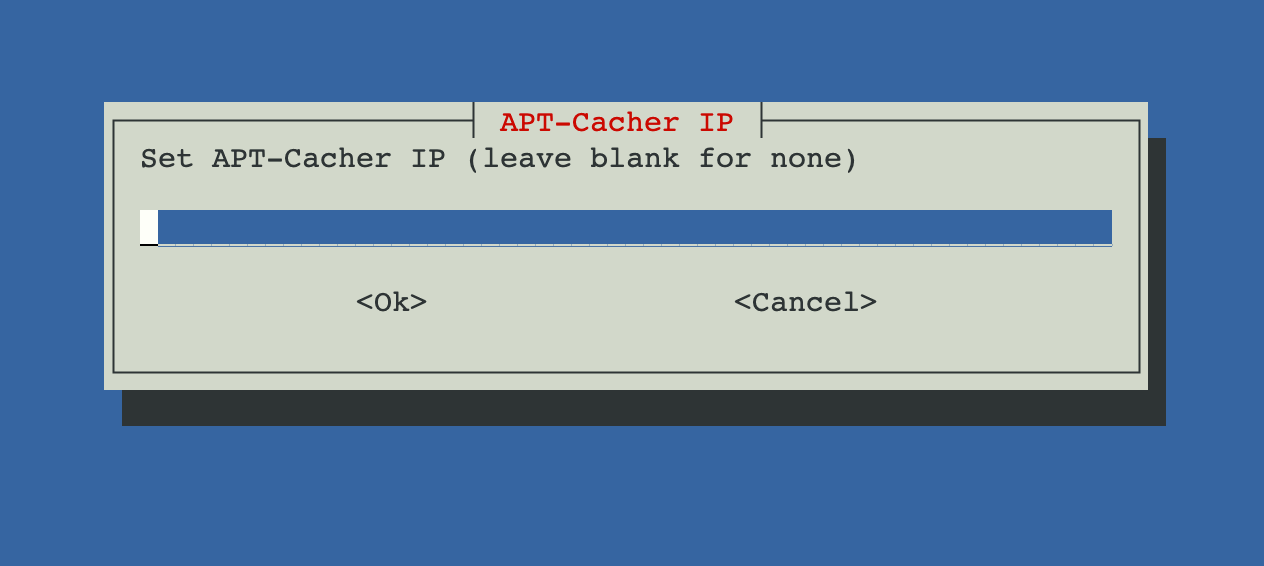
Leave "APT-Cacher IP" blank and hit OK to continue.
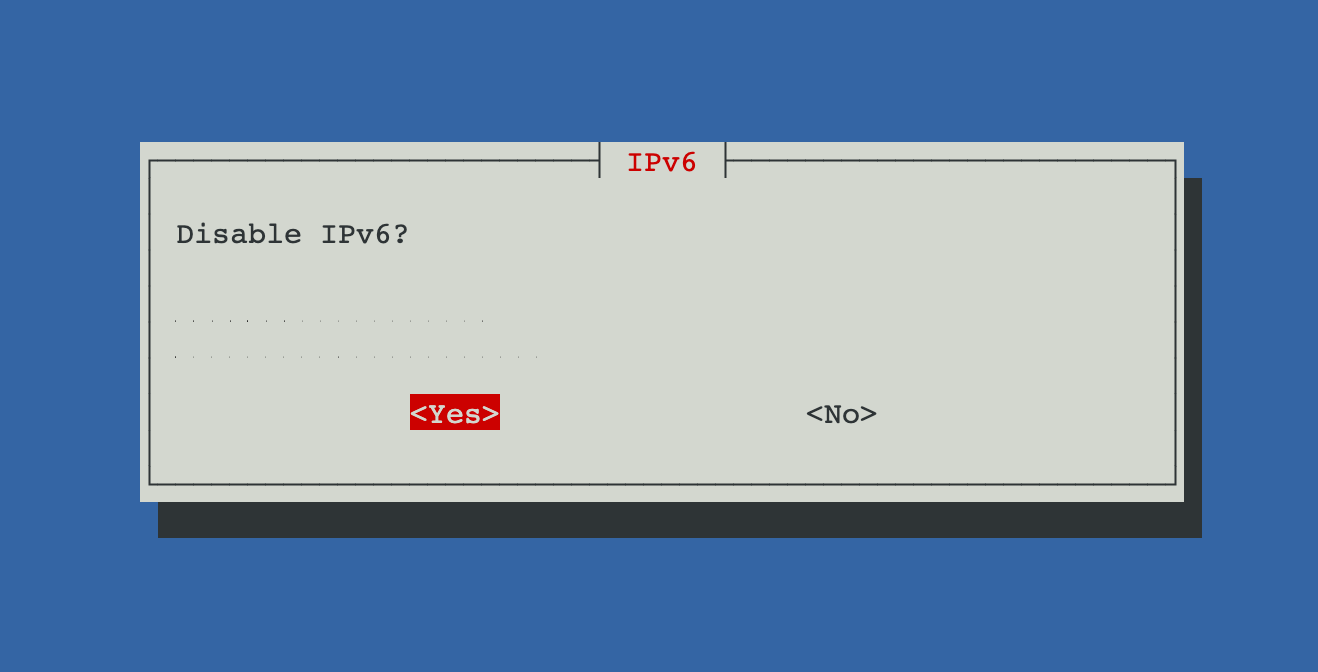
I recommend disabling IPv6 for most networks, but you can enable it if you wish
Leave the next few screens as default/blank unless you know that they need to be changed for your network (MTU size, DNS search domain, DNS Server IP, MAC address, VLAN).
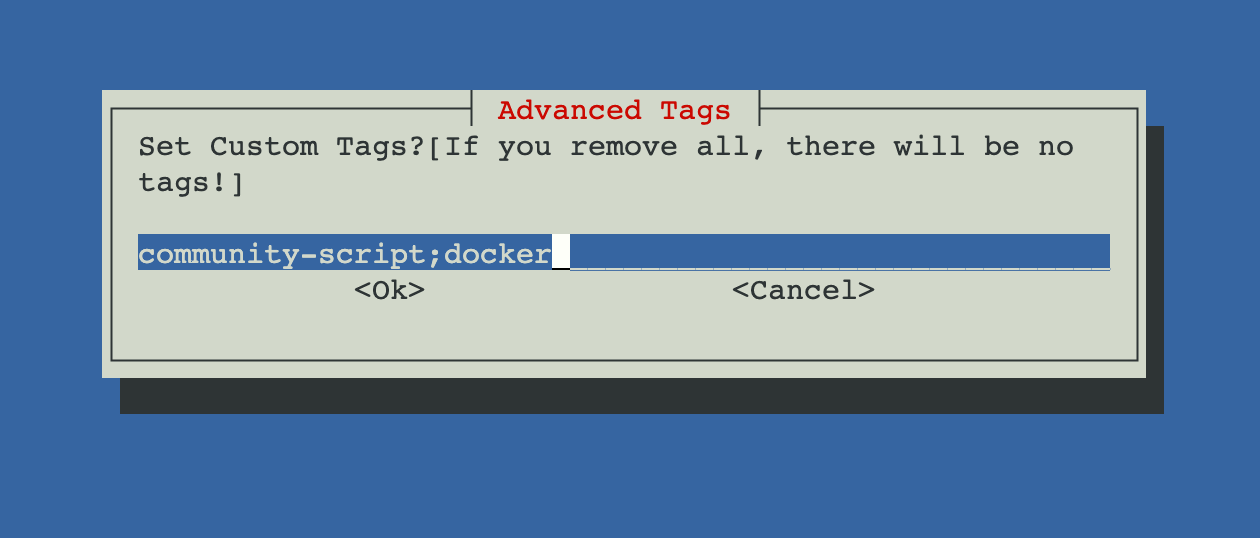
Feel free to change/customize the custom tags if you want - they are used for identifying the host in Proxmox. You can always edit them later.
For "Enable Root SSH Access" I recommend setting this to Yes for most users who have their install protected with some combination of a firewall, strong password, SSH keys, etc. Setting this to "no" will require you to administer this container exclusively through the Proxmox web interface.
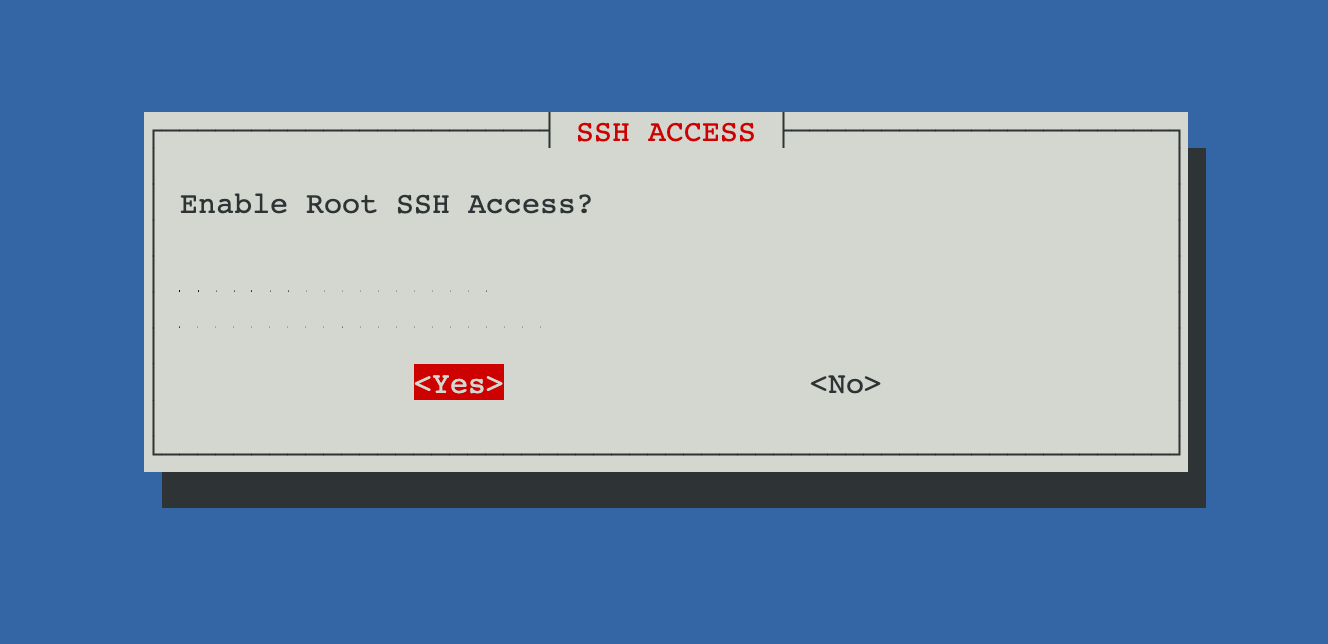
If you enable root SSH access, you may be asked for an SSH Authorized Key. If you have one, provide it. Otherwise, leave it blank and hit "OK".
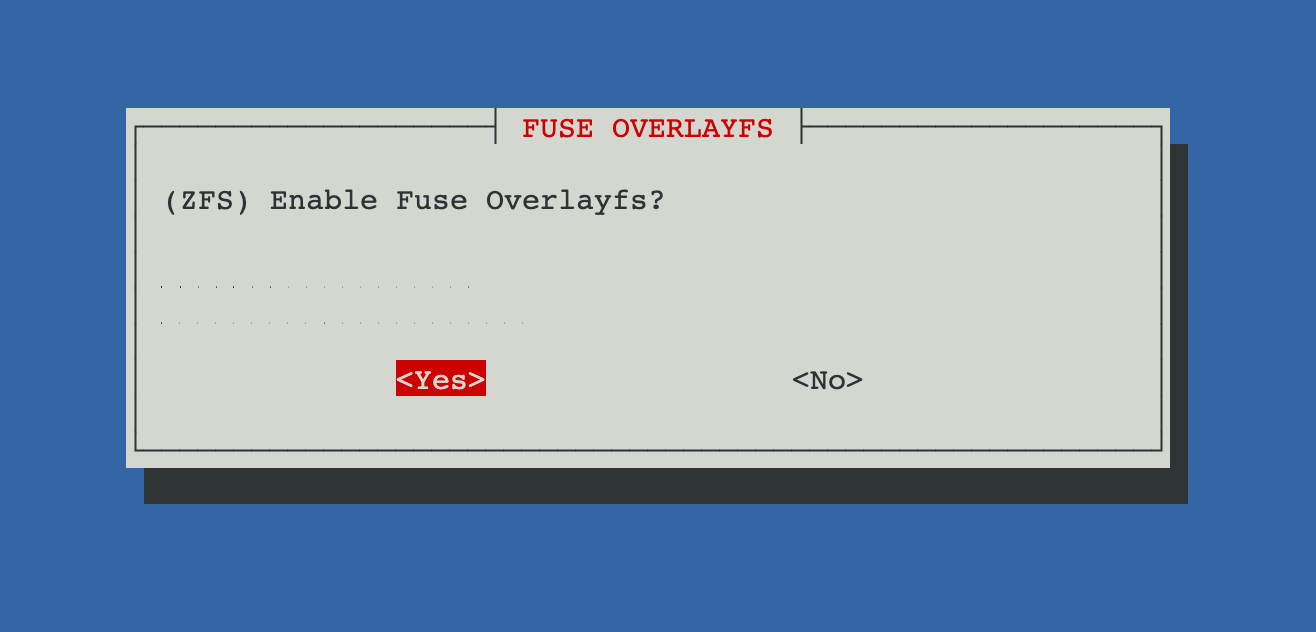
If prompted, enable ZFS (Fuse Overlayfs):
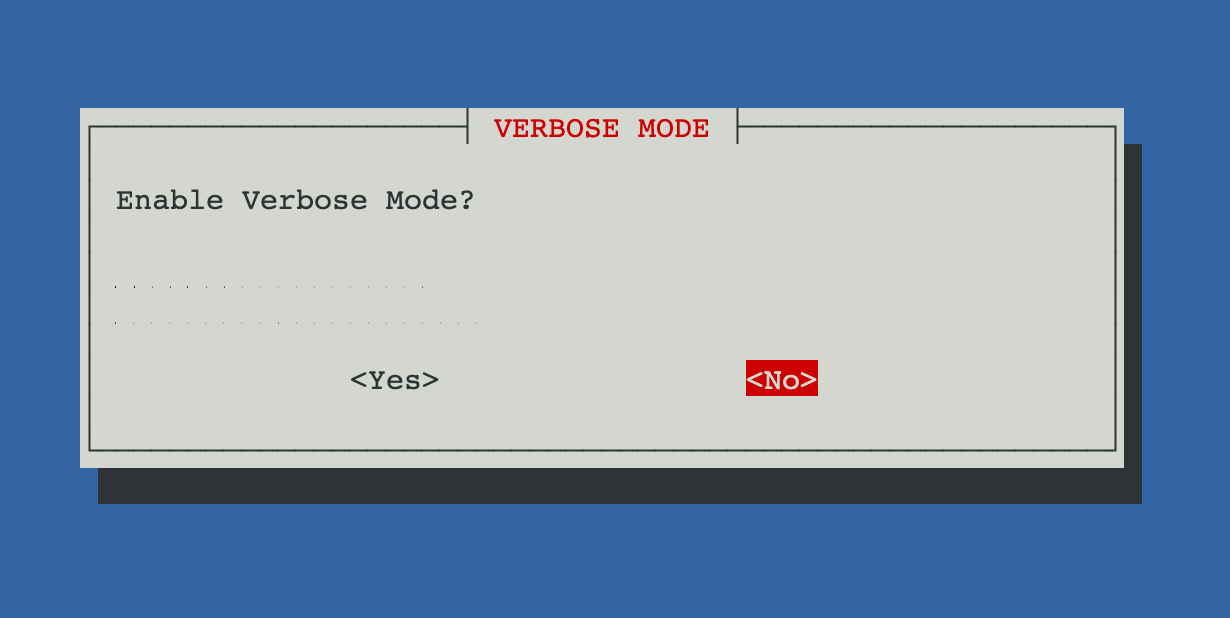
Disable Verbose mode:
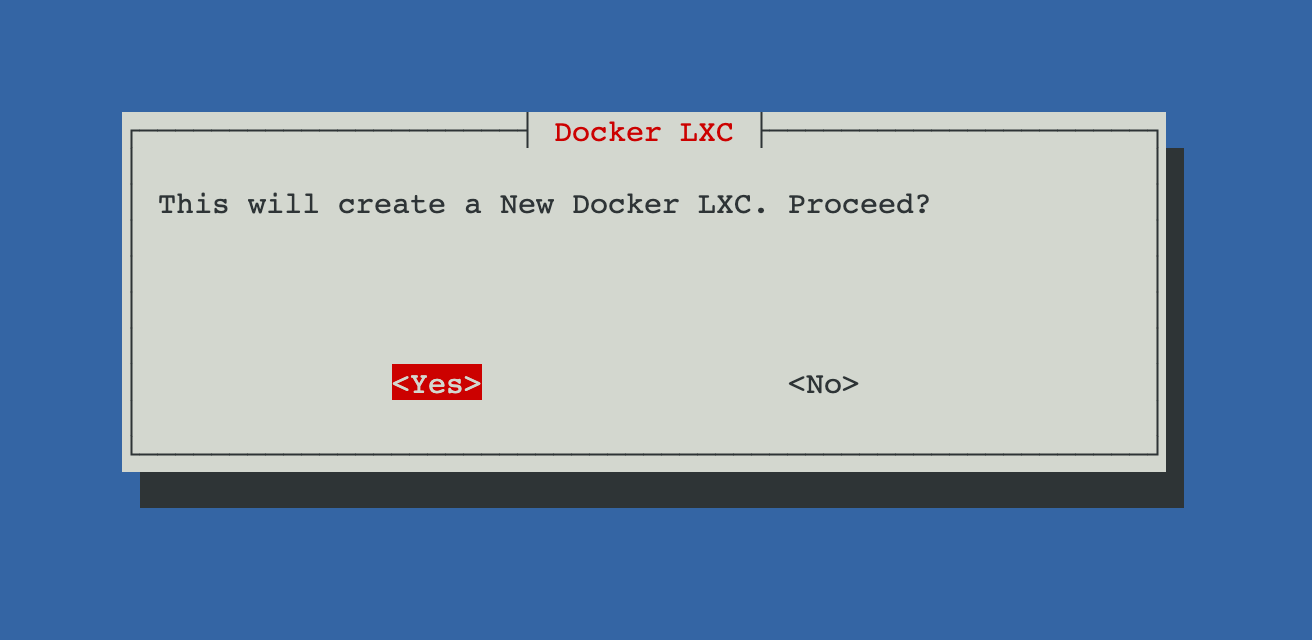
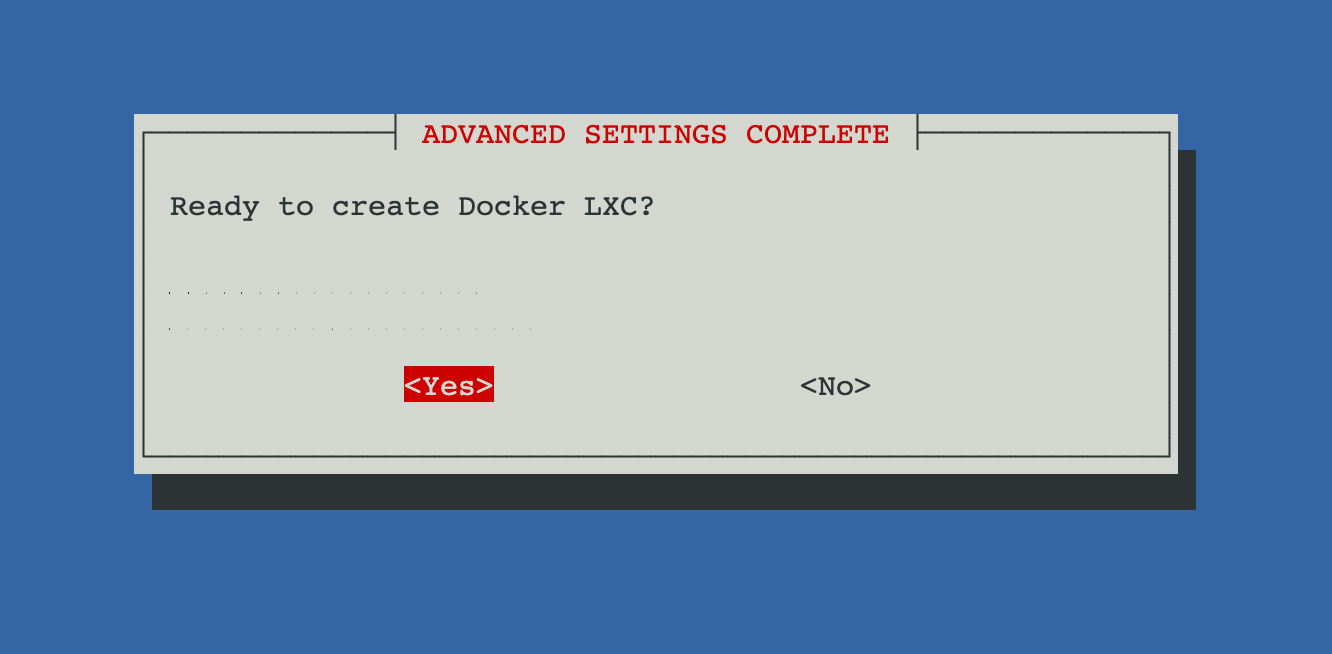
...and then you're almost done! Create the Docker LXC:
The screen will revert to a terminal prompt which will then download the necessary files and create the container. This may take several minutes to complete.
When asked to install Portainer/Portainer Agent, choose "N"

The installation will complete, and your container will now be ready for use.
Install Fermentrack
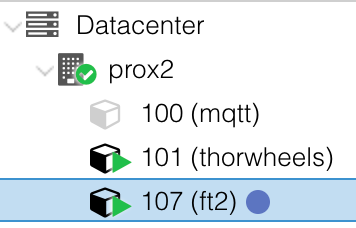
The last step is the easiest - installing Fermentrack! Select the container you just created from the pane on the left, choose "Console" to see the shell, and log in as the root user you just created:
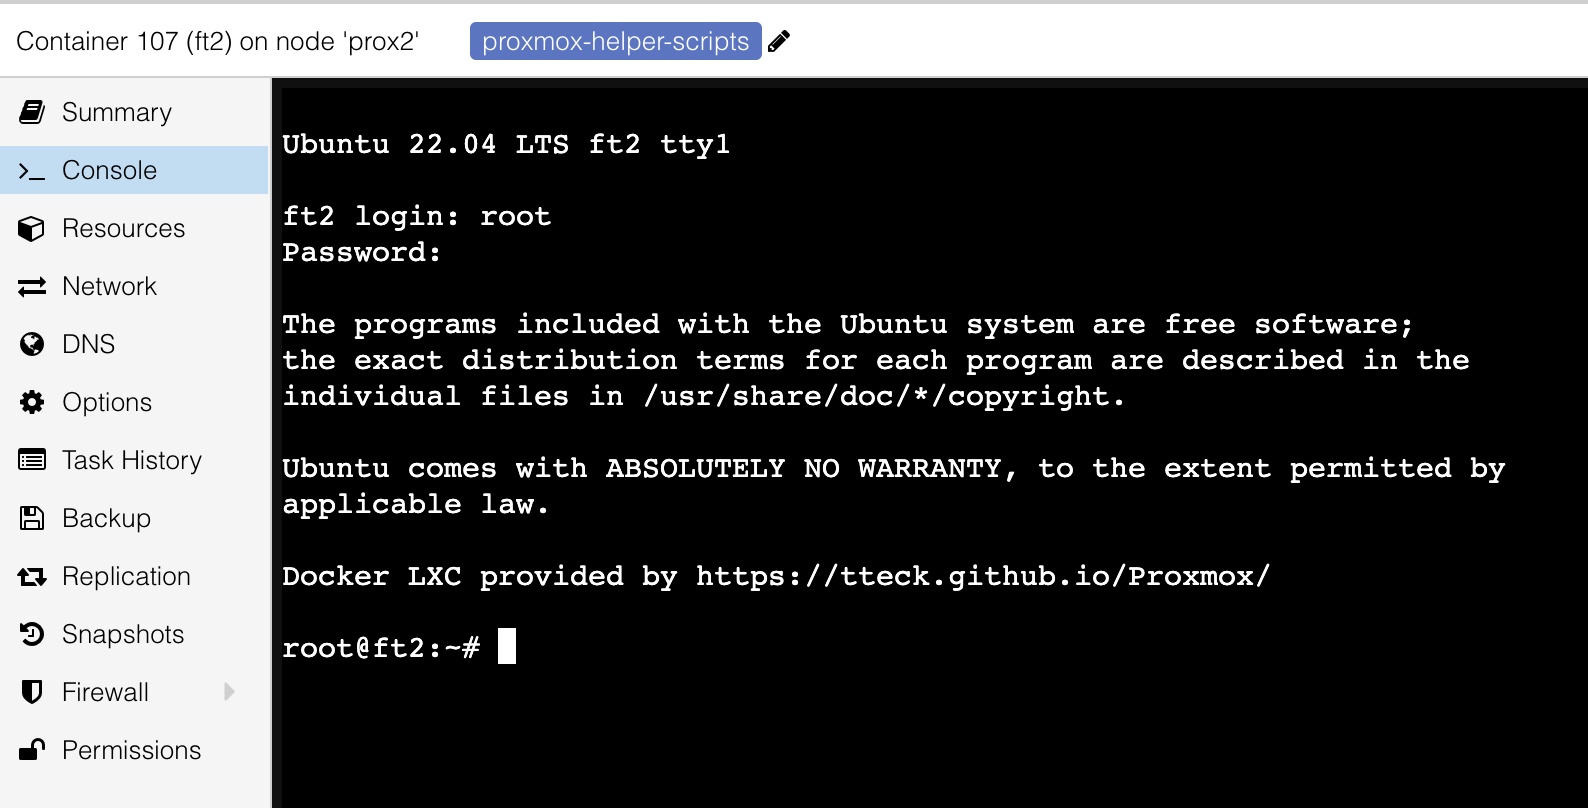
Run sudo apt-get update && sudo apt-get dist-upgrade -y to update everything to the latest version, then run curl -L install.fermentrack.com | bash to install Fermentrack. Follow the prompts as they appear, and within a few minutes you'll have a working Fermentrack installation, ready for use.
Congratulations, and happy brewing!