Using BrewPi-ESP with Fermentrack 2
Although Fermentrack 2 documentation is coming, its not here quite yet. Here's how you can connect the latest (v16+) versions of the BrewPi-ESP firmware to Fermentrack 2.
Step 1: Flash the Controller & Connect to WiFi
If you haven't yet done so, start by flashing the controller. This is most easily done using BrewFlasher Desktop, BrewFlasher Web, or BrewFlasher CLI:
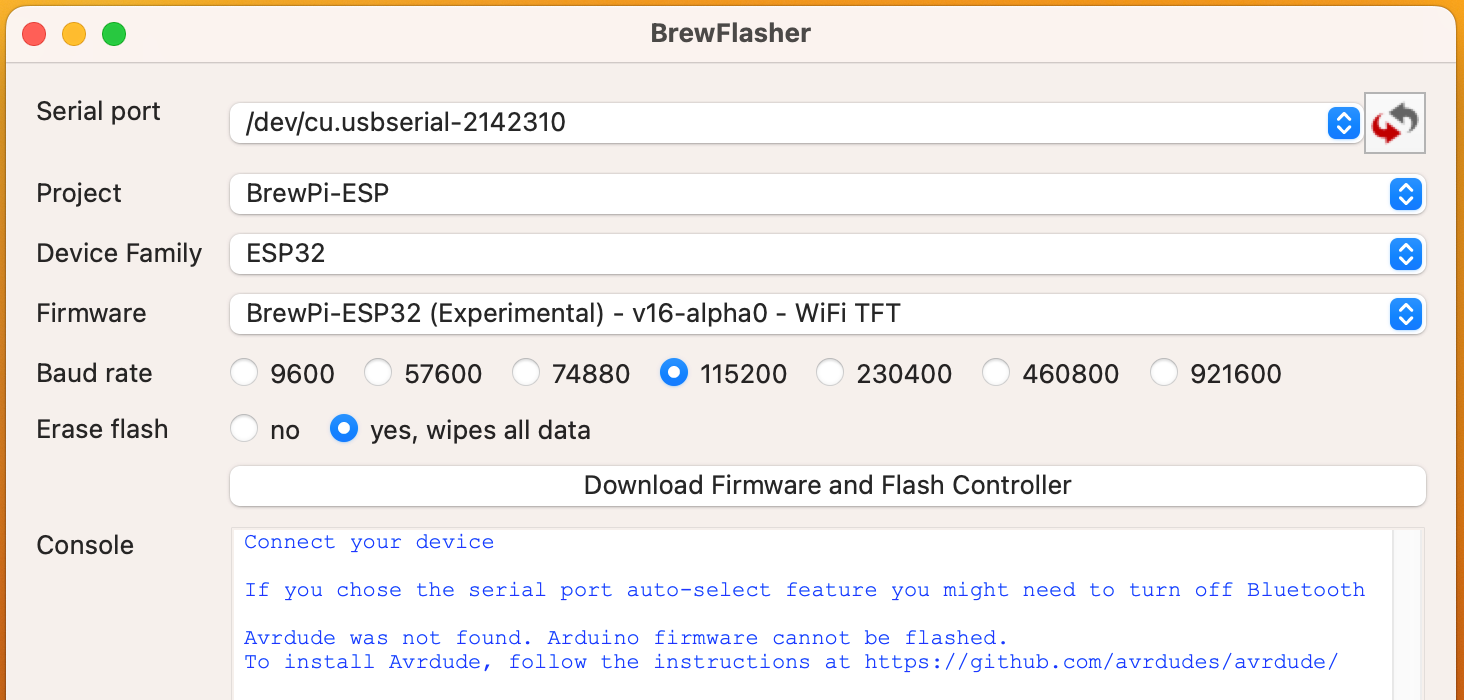
Open your preferred version of BrewFlasher, select the BrewPi-ESP project, the appropriate controller type, and the latest version of the firmware - which for now is v16. Follow the prompts on screen to complete flashing the device.
Once flashed, the device will create a WiFi access point called "BrewPiAP" with the password "brewpiesp". Connect a phone or other device to this access point, navigate to http://192.168.4.1/ and follow the prompts on screen to finish setup and connect your controller to WiFi.
Word of advice: Jot down the "Device (mDNS) Name" mDNS ID you select during setup, especially if you don't have a screen on your device. You'll need it in the next step.
Step 2: Configure your Controller
Using a phone or other device connected to the same WiFi network as your controller, log into your controller's web interface. This is accessible at the URL displayed on screen when the controller starts up. It also can usually be accessed by using the mDNS ID selected in the previous step by appending ".local" to the end (so an mDNS ID of "ESP17FA" would be accessible at "http://esp17fa.local/").
Select "Fermentrack Settings" from the menu (mobile) or the bar on the left (tablet/desktop). On the resulting screen, select "FT.net" from the drop down:
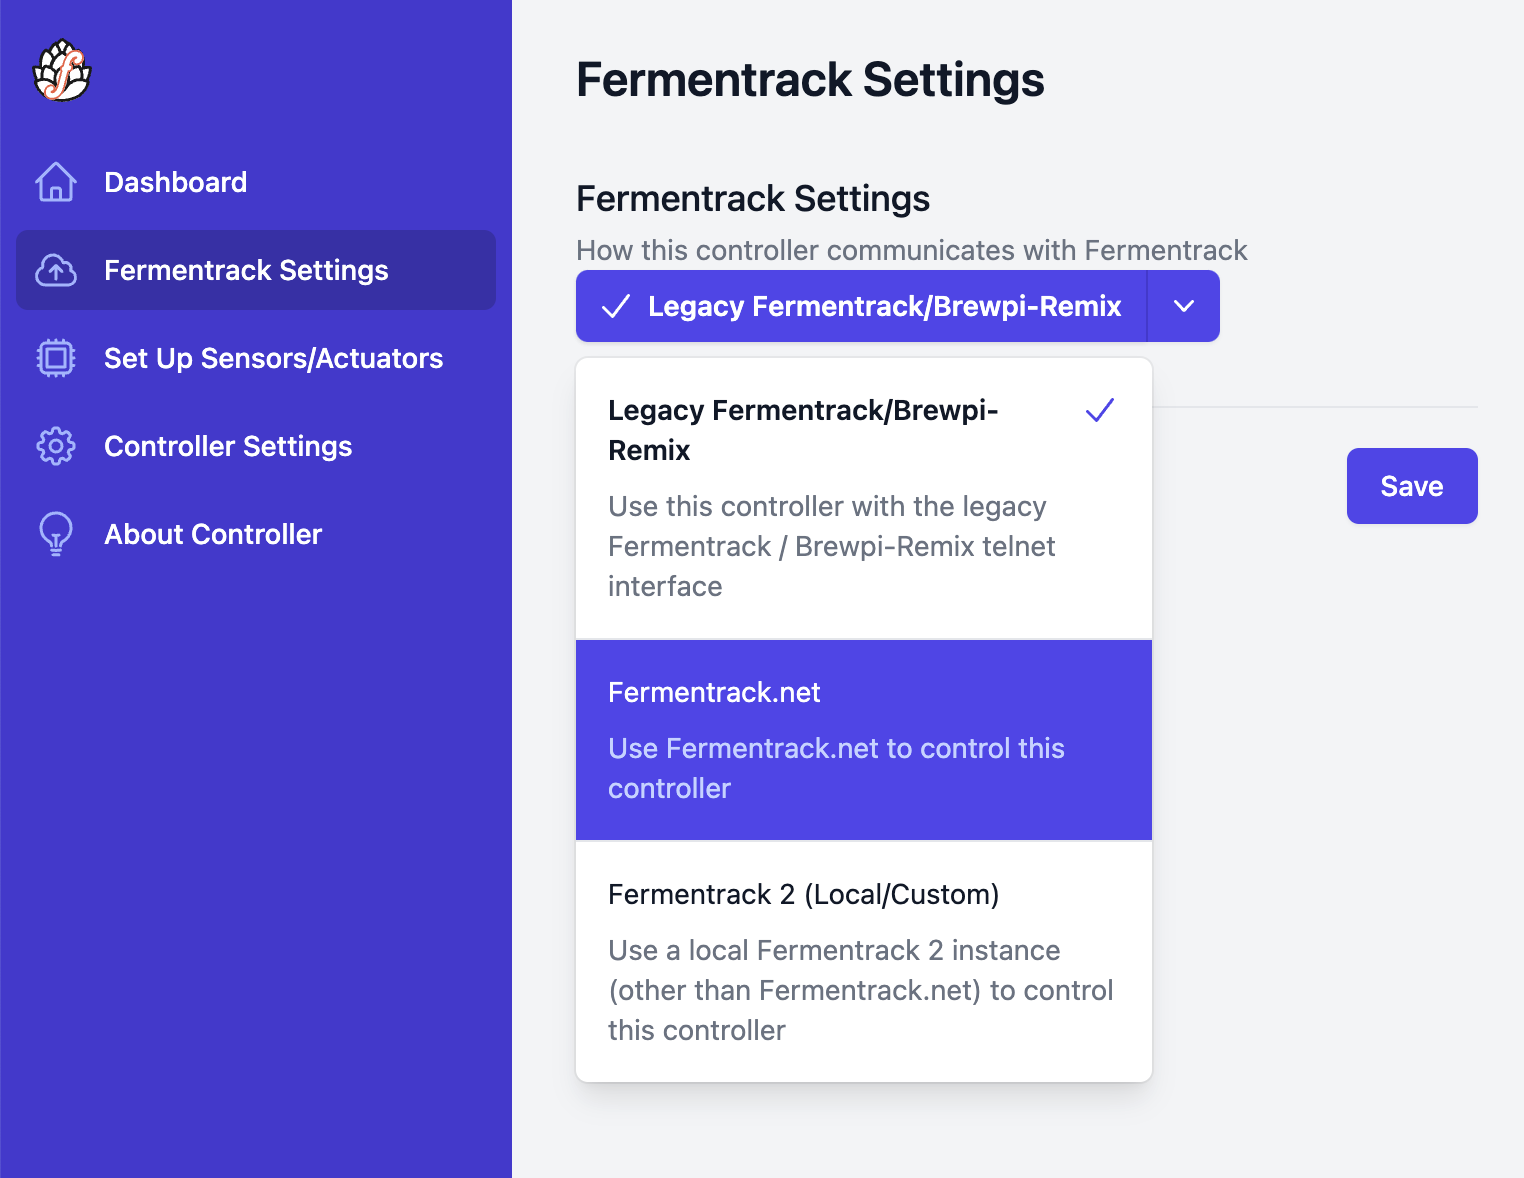
Input your Fermentrack.net username in the box and click "save".
Done!
With that, you're done! Your controller should connect to Fermentrack.net within the next 60 seconds and will display on your Fermentrack.net dashboard, ready for use!